Important Note: SKYMO products are not sold on Amazon. Any similar items found there are unauthorized counterfeits from overseas sellers. We’ve had many people contact us or leave negative comments after experiencing issues with these counterfeit products, believing they had purchased an authentic SKYMO mount. To ensure you receive genuine SKYMO quality, please purchase only through skymo.com, our exclusive store.
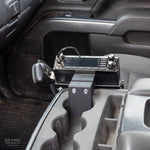
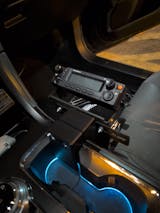
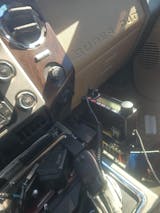
Our best-selling radio mount is not vehicle-specific, so you can install it in any vehicle with a suitable cup holder or console sidewall.
It uses two bolts to clamp onto your cup holder or sidewall of your console.
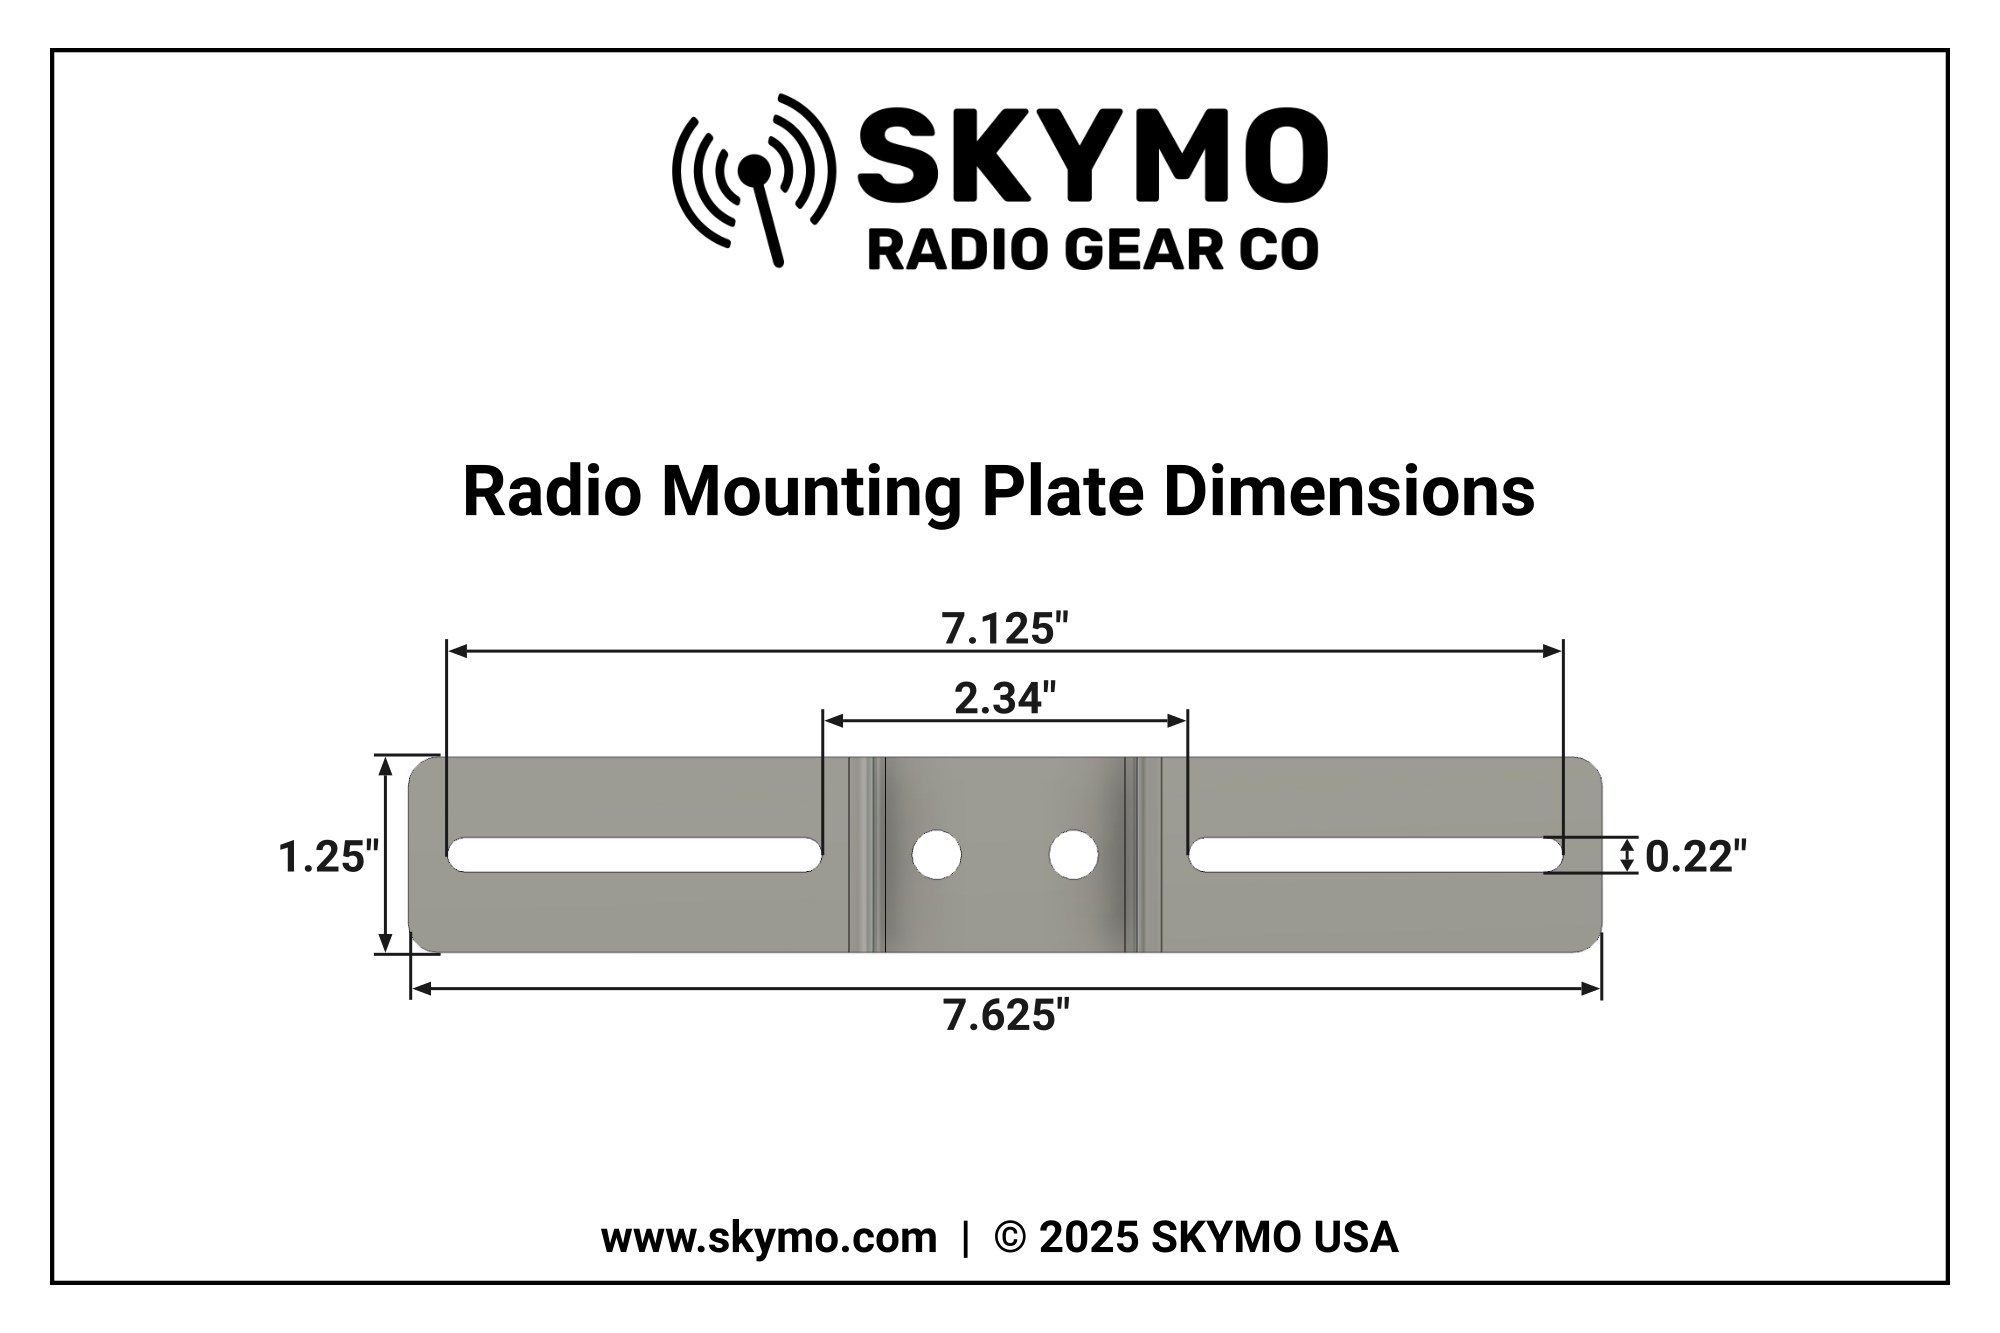
This mount consists of three plastic pieces and a metal mounting plate (note that the mounting plate does not replace your radio's bracket — you will still need your radio's bracket).
The main mount components are curved to fit a cup holder, but an adapter is included to create a flat surface if you are mounting to a flat surface.
Hardware to attach your radio bracket to the mount is included.
The Mounting Plate is 14 gauge steel, powder-coated black. The other components are printed parts made of ABS.
Clamping Range: 1.5" - 3.75"
This means whatever you clamp to must be at least 1.5" wide but no wider than 3.75". The mount comes with bolts of varying lengths so you can swap in shorter or longer bolts depending on the width of what you are mounting to. If you use the longer bolts when mounting to a narrower area, you will find that they stick out the backside of the mount into your cup holder, so the goal is to use the bolt length that engages enough threads but doesn't stick out the back of the mount.
Installation Tip:
Do not over-tighten the clamping bolts when you install this on the cup holder or console. In testing these, we've found that the mount can withstand more than enough force to keep it in place, especially if the grip tape is used. Just be careful to not crank on it so hard that it breaks.
Getting Started
Watch the video below for a quick walkthrough of what you need to know to get started with your new radio mount.
To use the radio mount:
- Use the 1/4” hardware ((2) button head cap screws, (2) square nuts, (2) washers) to secure the Mounting Place to the plastic part that is labeled "Mounting Plate Piece" at your desired height (if you've already removed the packaging with the label, you can also identify the Mounting Plate Piece by the part number being stamped on the bottom; the other two pieces do not have part numbers stamped in them).
- Use the #10 hardware ((2) screws, (2) lock nuts, (4) washers) to bolt your OEM radio bracket that came with your radio to the Mounting Plate.
- Optional: Use the isopropyl alcohol wipe to clean the plastic parts and then apply grip tape to each one. The longest piece of grip tape goes on the Mounting Plate Piece. The shorter lengths can be used on the Cup Holder Piece and Insert Piece.
- There are four different lengths of 5/16 bolts for you to choose from to secure the Mounting Plate Piece to the Cup Holder Piece. Choose the length of bolts that will allow the bolts to engage an adequate number of threads, but are not so long that they will stick out the back of the mount too much. The best bolt length to use will change depending on the installation.
- Using your chosen bolts and the 5/16 washers, hold the two parts in place and bolt them together. Optional: If you are not installing this in a cup holder but a flat surface, the Insert Piece can be used to adapt the Cup Holder Piece to flat. This just creates more contact between the flat surface and the mount and will help the mount stay in place.
- Install your radio on the OEM radio bracket.
Installation Video:
Your purchase will include the following:
- (1) SKYMO USA Clamping Radio Mount, 3 pieces
- (2) Coupling Nuts (preinstalled in plastic part)
- (2) Slotted Spacers (preinstalled in plastic part)
- (1) SKYMO USA Radio Mounting Plate
- (2) 5/16-18 x 2-1/2 Hex Head Bolts
- (2) 5/16-18 x 3 Hex Head Bolts
- (2) 5/16-18 x 3-1/2 Hex Head Bolts
- (2) 5/16-18 x 4 Hex Head Bolts
- (2) 5/16 Flat Washers
- (2) 1/4-20 x 5/8 Button Head Cap Screws
- (2) 1/4-20 Square Nuts
- (2) 1/4 Flat Washers
- (2) #10-24 x 1 Phillips Head Screws
- (2) #10-24 Lock Nuts
- (4) #10 Washers
- (1) 5/32 Hex Key
- (3) Pre-Cut Grip Tape Pieces
- (1) Isopropyl Alcohol Wipe
- Choosing a selection results in a full page refresh.


